What happened in The BeeHive on Friday?
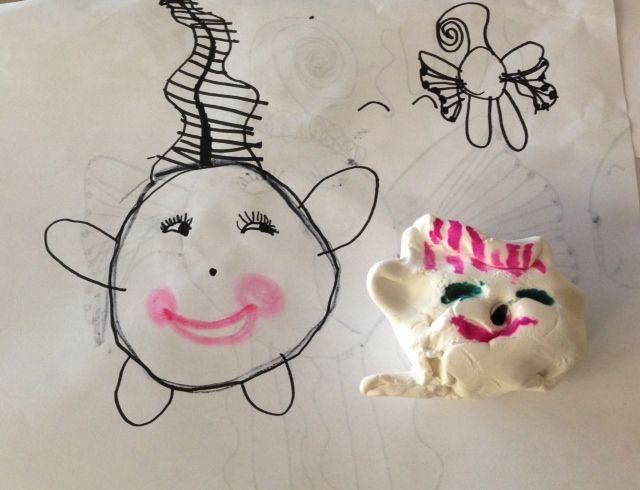
The kids took over the main room with Lilah leading a class on Lilah Beans - of course. She started everyone out using Crayola Model Magic. It's a rather amazing air-dry clay that is surprisingly light and paper-y-like. By the time they had sculpted their LBs (Lilah Beans), drawn an army of LBs (Lilah Beans), and then run around the studio like LBs (Lunatic Banshees, :-) )... the clay was dry enough to decorate using markers.
Lilah loved being the teacher in the front room because she could pounce on any new visitors entering the front door! She is becoming an excellent teacher and I keep reinforcing the two most important art teacher rules, ever:
1. Never, ever, ever... EVER... draw on someone else's work, unless they invite you to.
and
2. Show your students the basics, and then encourage them to add their own style.
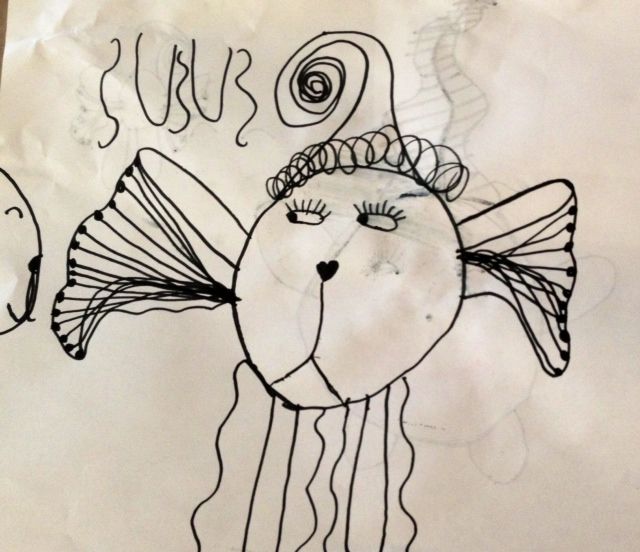
The second rule led to some amazing new characters! When I see Lilah's drawings, I have an urge to use them as inspiration for a series of paintings. And rubber stamps. And a kids' clothing line...
Meanwhile, in classroom number 2...
Us big kids were playing with sharp objects! Well, sort-of-sharp. The gouges we use for eraser-carving, or rubber stamp carving, were originally intended for use on linoleum blocks.
The stamp making class was originally scheduled for the week before, but you know what happens? Only one or two people are brave enough to "take the class" but as the evening wears on, others mosey in to the room to see what we are doing and "just watch". By 9 o'clock they are asking, "will you be doing this next week too?" Sure. And this time we had a full table with two seatings. :-)
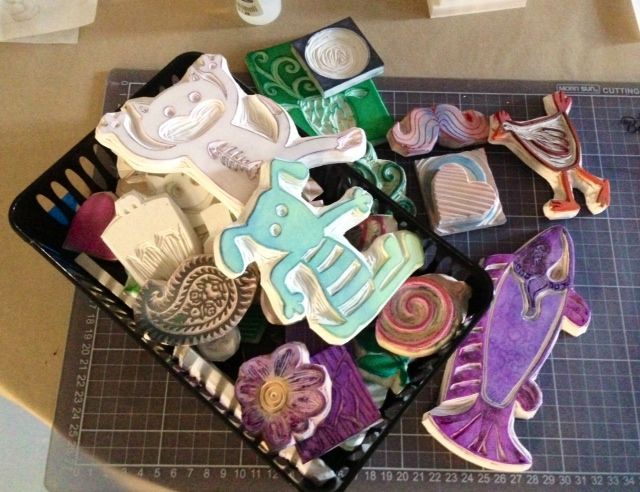
Carving is actually as easy as learning Zentangle®. There are a few tricks that can save you pounds of trouble and I keep a bucket of scrap material on the table to practice the strokes. Once everyone gets the feel of how the gauges cut through the soft material, carving an actual stamp is more like tracing a design. Simple.
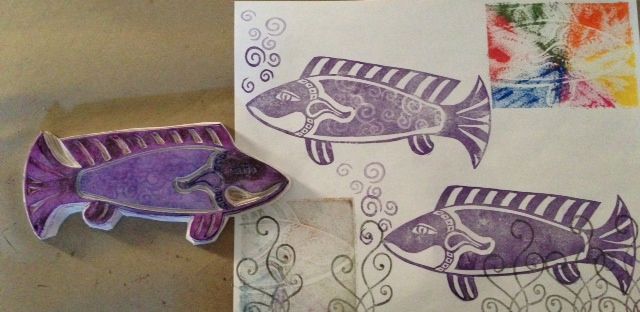
I spent the first stamp-carving Friday working on this fish. I decided to keep its body solid so I could draw the details on later. This picture (above) shows the test prints I made.
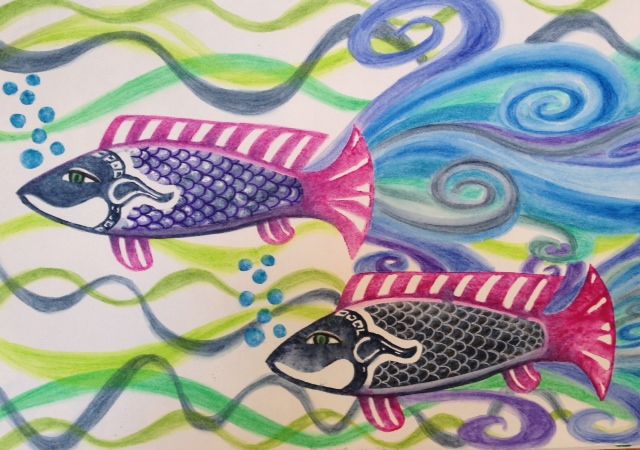

I made a new print in my sketchbook using the Inktense blocks (I learned this technique in the Inktense class I am taking online!) The bottom fish was the first stamping - nice and dark. I spritzed the stamp with water and did the second stamp - which didn't print as well... but ended up looking nicer after adding some more pencil work. I used a white gel pen to add the scales to the darker fish. And then I added swirls and waves until I could no longer see straight and went to bed.

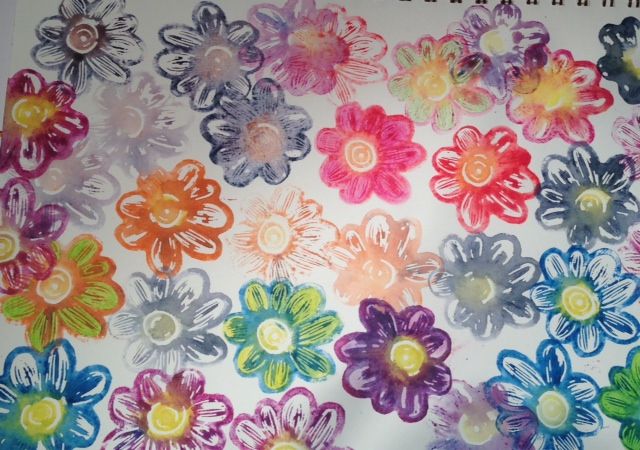
This past Friday, I carved a mustache stamp and then a flower because Lilah was NOT impressed with the mustache. :-/ I am so addicted to this idea of using Inktense blocks to "ink-up" the stamps!!! You just spritz the stamp with water and use the side of the block to spread color over the stamp surface, then print. When the color is dry... it's permanent.
I'm not quite sure what I will do with this flower page. I can color in each petal with a different color and they won't bleed with the previous colors. It's just SO exciting isn't it?
Subscribe to our email newsletter and unlock access to members-only content and exclusive updates.
Comments